Showing posts with label do it yourself. Show all posts

Wednesday, September 19, 2012

Tee for two and two for tees

For our September challenge in the Upcyclers Team on Etsy we were asked to make something with tee shirts.  Since my daughter is a skinny little thing that grows out of her tee shirts vertically quicker than anything, I decided to take her old shirts and make her a "new" dress. It was very simple. 
I had two shirts that were the same width. I cut both the shirts into strips horizontally, then using the cutest top and sleeves sewed alternate pieces of the tees around the bottom of each next strip until I got to a length I liked. I didn't hide the seams. I sewed these strips one over the other because I like the rolled edge of the jersey showing. 
I added a swath of thrifted fabric from an old sheet and got an (almost) instant dress for summer or anytime of year.
This is an easy (and free!) project you can try at home with your own (or your kids) old tee shirts, a great use for tees with a small permanent stain. Just cut around the stain. 
Have a blast creating your own "new" summer dress that is easy to wear, easy to wash , and super cute!


Monday, February 20, 2012

Upcycled Southern Belle

a southern belle ballgown for under $100
before
For the past 8 years, our local historical society has thrown a reenactment ball to commemorate the battle of Fort Donelson in February 1862 here in Dover. Two years ago I went in a borrowed gown 3 sizes too big and the year before I went in a gown that was only about one size too big. This year, I wanted to do it right, but "right" came with a budget.  I wanted a fancy 1860's ball gown that would cost less than $100, but I'm a bit of a fashion snob and didn't want any old cheap looking gown. It had to be fairly historically accurate, or at least look that way. Since I can sew, I thought about making one from scratch, but new fabric prices had me choking a little and I didn't have enough of the right material in my stash, so the dress from scratch idea flew out the window. I searched for a dress that fit my budget and might be close enough to that style that I could make it happen by reworking.  I found a dress from TreasureChest01 on Etsy that was perfect.
     I took in the waist, added maroon satin from my own fabric stash to the lace at the bottom and sleeves and added bolder bows and buttons (also from my fabric stash) at the gathers. I  lifted the low back up to a more modest level and added a fancy brooch from my collection of vintage jewelry to the waist.  Using an old sheet and the eyelet lace trim from an old pillowcase I created a chemise (underdress). I took some maroon ribbon from my stash and threaded it through the eyelet holes to make a pretty accent to the top of the dress.
     Because of the fabric and notions I already had, I spent a whopping $39 total on a dress that I felt made a huge statement and looked great!  I decided to splurge on a vintage hoop instead of buying a cheap modern made one. The final result turned out to be a beautiful dress that showed up great in all the photos being snapped. I got many compliments on it and just had to brag about how I upcycled it for under $100.
finished ball gown for under $100

Monday, September 19, 2011

Display ideas for craft fairs

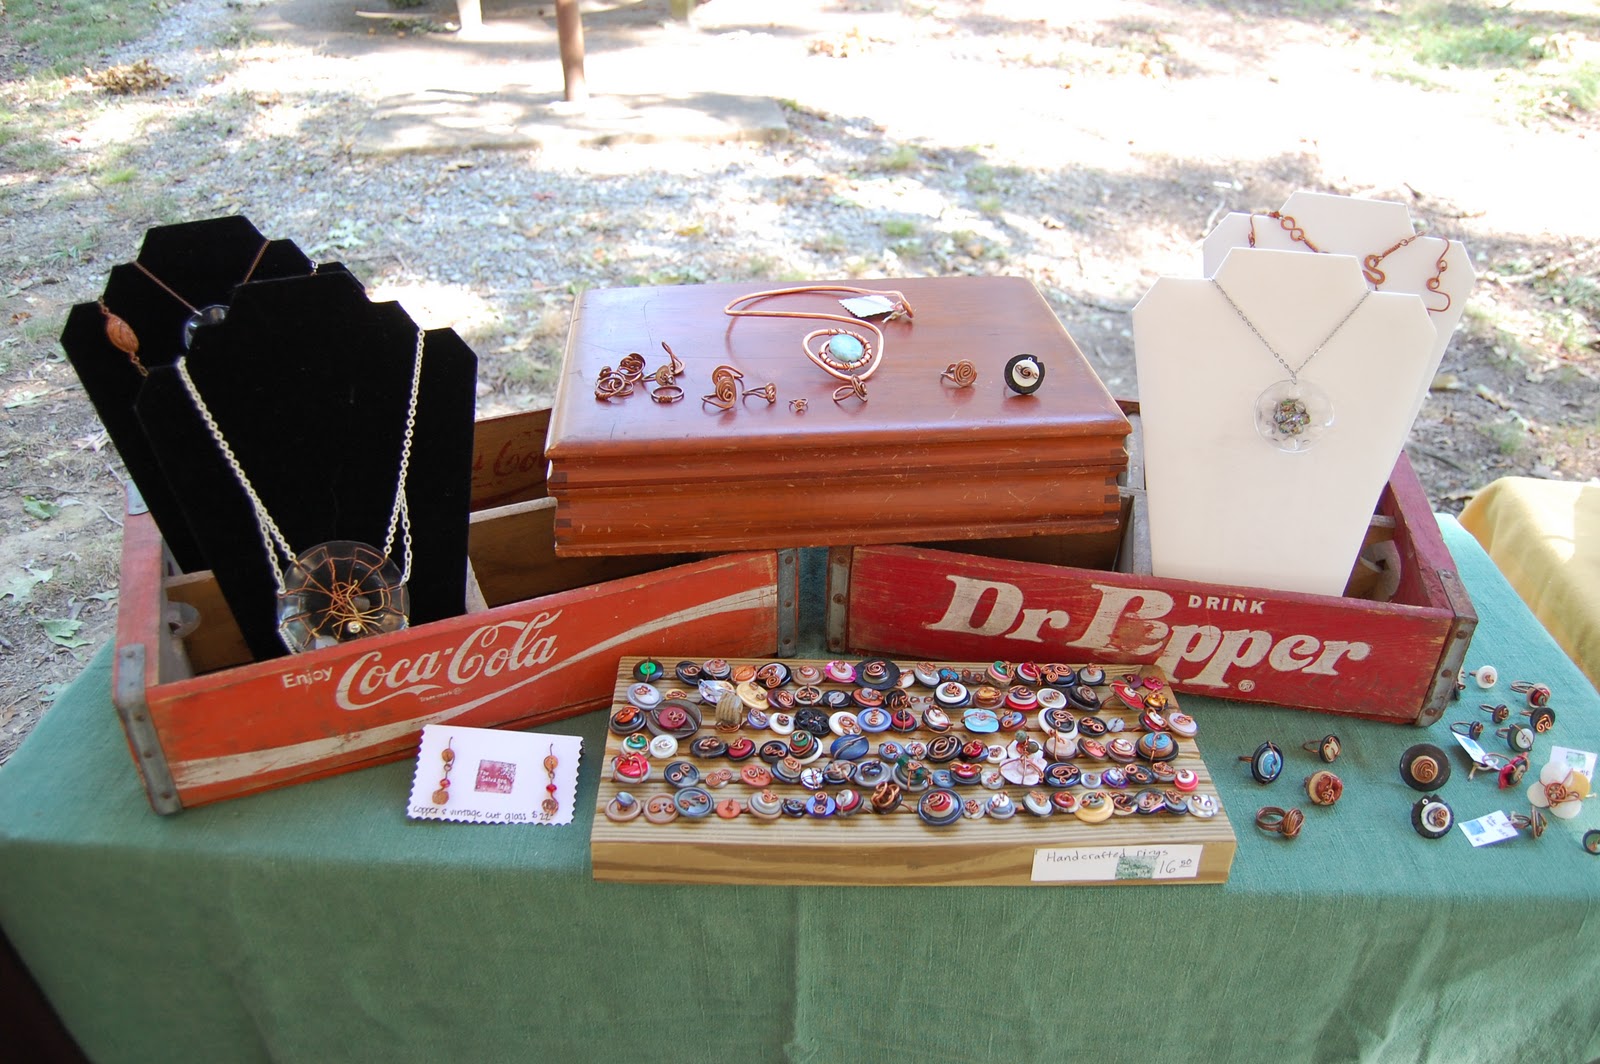
I thought I would show the results of my display search. Here it is. Lots of junk repurposed into jewelry displays along with some store bought ones I had already from previous years of selling. We were under some trees so some of the pictures had less than ideal lighting, but you get the idea. Happy hunting!

I used old crates and boxes to add height and
scarves for color
Me and Miss Priscilla ready to sell

We are ready for our closeup!

Close up of my stacked boxes

Shutters held earring cards, I hung a mirror from the canopy

an old printer drawer makes a great pendant box

an old stand up mirror and some scarves thrown on the canopy for color

I found the clear step display (right) at the Goodwill

My father in law helped me build the ring tray from an old board
the crates helped the necklace boards from blowing away in the wind,
a problem I had at the last show